
Description
This Peanut Butter Pie Delight is basically my mom’s peanut butter cream pie, but there’s no need to mess with pie crust and it’s low carb and sugar free! THM S
“I could eat those crumbles till the cows come home!” – Ryan
If this sounds like a lot to do all at once, you can make the crust, pudding, and crumbs in advance as you have time, then make the whipped cream right before assembly. I actually prefer this Peanut Butter Pie Delight after it’s been assembled and refrigerated overnight, so if you want to make it the day ahead for an event, feel free to do that. It’s the perfect social function dessert because it doesn’t rely on a lot of alternative flours, which can take some getting used to.
Ingredients
CRUST
- 1 cup Briana’s Baking Mix
- 2 teaspoons THM Super Sweet Blend
- 5 tablespoons salted butter (melted)
CUSTARD PUDDING
- 2 teaspoons Knox gelatin (or 2 ½ teaspoons beef gelatin such as Great Lakes beef gelatin or THM Just Gelatin)
- 2 tablespoons cool tap water
- 2 cups unsweetened almond or cashew milk
- ½ cup heavy whipping cream
- 4 egg yolks
- 2 tablespoons oat fiber
- 3/8 teaspoon salt
- ¾ teaspoon glucomannan
- 1 tablespoon salted butter
- 2 teaspoons vanilla extract
- 2 ½ tablespoons THM Super Sweet Blend (or more, to taste)
CRUMBS
- 7 tablespoons xylitol (powder in a coffee grinder very well after measuring)
- 6 tablespoons defatted peanut flour
- 6 tablespoons oat fiber
- 4 ½ tablespoons natural peanut butter (I used Smuckers brand from Walmart)
- 3 tablespoons salted butter (softened)
- Pinch of salt
WHIPPED CREAM:
- 1 cup heavy whipping cream
- 1/16 teaspoon (2 doonks) THM Pure Stevia Extract Powder
- Dash of vanilla extract
- 1/32 teaspoon xanthan gum
Instructions
CRUST: Whisk the baking mix and sweetener together, then add the melted butter and mix with a fork or hand mixer to form crumbs. Press into a greased 8” x 8” glass baking dish (a fork works great for this – don’t pack it super hard) and bake at 350* F for 6 minutes. Remove from the oven, let cool completely, then cover with a lid until you’re ready to assemble the dessert so it doesn’t dry out.
CUSTARD PUDDING: Bloom the gelatin in the cool water and set aside. (Just whisk the gelatin and water together in a small dish and let it sit for a few minutes.)
Whisk the almond milk, cream, egg yolks, oat fiber, and salt together in a saucepan on the stovetop. Add the glucomannan last, a little at a time while whisking so it doesn’t clump.
Cook the custard mixture over medium heat (try medium low if using a gas stove), whisking often, until the custard registers 160*F on a digital instant read thermometer. Whisk constantly as the custard nears the desired temperature.
Once the custard reaches 160*, pull it off the burner and immediately whisk in the bloomed gelatin and the butter to keep the temperature from rising further. Add the vanilla and sweetener and whisk until the gelatin is completely dissolved.
Pour the custard into a heatproof bowl and then cover with plastic wrap, making sure the plastic wrap is touching the entire surface of the custard to prevent a skin from forming. Let the custard cool on the counter, then chill in the fridge for 4 hours or until set. (Tip: chill the custard in a bowl that is near the same diameter as your intended dessert pan so you won’t have to disturb it much when spreading it later.)
CRUMBS: Measure the xylitol, then powder it in a coffee grinder very well. (Any remaining granules will be crunchy and will not dissolve.) Mix the crumb ingredients together with a hand mixer until they form, well, crumbs. Taste and add more powdered sweetener if desired. Set the crumbs aside in an airtight container at room temperature until ready to assemble the dessert.
WHIPPED CREAM: Right before assembly, add the stevia and vanilla to the heavy cream in a bowl and beat with a hand mixer to thicken a bit. Add the xanthan gum while beating, then continue to beat until the cream is stiff (but not butter!).
ASSEMBLY: Set ¼ cup of the crumbs aside for topping the dessert. Spread the remaining crumbs evenly over the crust. Unmold the set custard pudding onto the crumbs and gently spread out with an offset spatula, disturbing as little as possible to maintain a smooth consistency. Spread the whipped cream on top of the pudding, then garnish with the reserved peanut butter crumbs.
You can serve the dessert right away, but I actually prefer it after overnight refrigeration. This gives the crumbs and crust a chance to soften up a bit and the sweetness levels out. (Store this dessert in the refrigerator – covered – of course. It’s best within a few days of assembly.)
Equipment
 Buy Now →
  Buy Now →
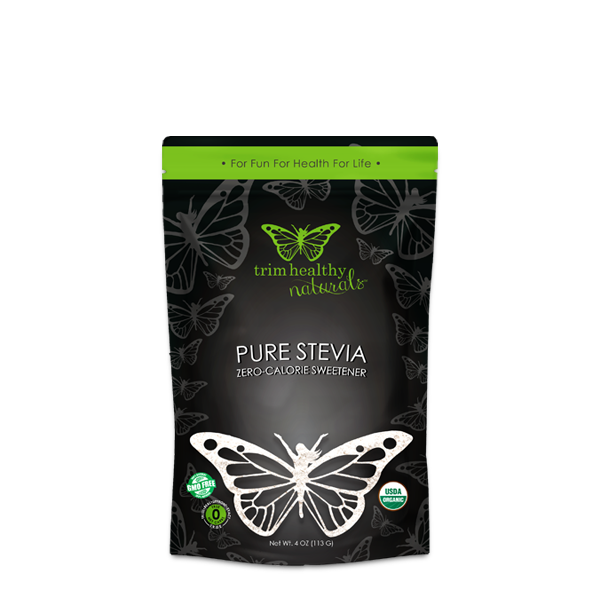
THM Pure Stevia Extract Powder
Buy Now → Buy Now →
  Buy Now →
  Buy Now →
 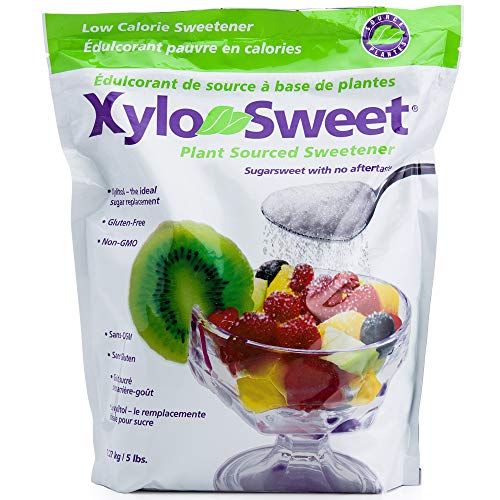 Buy Now →
  Buy Now →
  Buy Now →
  Buy Now →
  Buy Now →
  Buy Now →
 Notes
You could probably double this recipe for a 9″ x 13″ pan if you want to feed a crowd.
Custard pudding: this amount of custard makes about a three-quarter inch layer in an 8” x 8” pan. Make a 1.5x batch if you want a thicker layer. I made this dessert multiple times with different amounts of pudding. The version in the pictures in this post had a 1.5x batch of pudding, but I found the amount to be unnecessary.
A digital thermometer is a very useful tool when making custards, but I made custard for years without one. Just cook it slowly as noted above until it noticeably thickens as the egg yolks set. Don’t bring it to a boil – that’s 212*.
If the custard gets lumpy, run it through a fine mesh sieve before chilling.
Briana’s Baking Mix vs THM Baking Blend: my baking mix is a little drier than THM Baking Blend, so I would try 1 1/3 cups THM Baking Blend in place of my baking mix in this recipe, then adjust from there as needed to make a crust that you can press into a pan.
Sweetener: As always, adjust the sweetener amount to taste to make sure you get a result that you like! Feel free to use your favorite low glycemic sweetener to taste in place of the THM Super Sweet Blend in the crust and pudding. The xylitol in the crumbs is a little more fussy to replace since the crumbs need a bulkier powdered sweetener for the right taste and texture. Xylitol is poisonous to dogs and can cause digestive upset in some people, so if you want to replace it, try using another sweetener that measures the same as sugar, such as Lakanto Classic Monkfruit Sweetener. I personally don’t care for erythritol, but that could be an option too. If using a granulated sweetener, powder it before using it in the crumbs. I used stevia in the whipped cream topping because I didn’t feel like powdering more sweetener, but feel free to use your favorite sweetener in its place, to taste (powder it first). As written, the whipped cream topping is not all that sweet, so use your powdered sweeter of choice, to taste, if you want it sweeter.
Gelatin: I prefer Knox gelatin in custards like this because it dissolves better and results in a creamier, less curdly texture. Knox gelatin sets up stronger than beef gelatins like Great Lakes beef gelatin or THM Just Gelatin, so adjust the amount as noted in the ingredients.
Oat fiber: this versatile low carb flour can usually only be found online. Not all brands are created equal, but I like LifeSource oat fiber. Oat fiber is a really fine, dry flour that won’t make your custard gritty, and I don’t know of any great substitutes.
Glucomannan/xanthan gum: you can probably use xanthan gum in place of the glucomannan if you prefer, and vice versa. I have slight preferences for one over the other in different applications, which is why I used both in this recipe.
Saving calories: if you want to cut back on calories, you could try using ¾ cup of cream instead of 1 cup in the whipped cream topping, or just top each serving of dessert with a squirt of Reddi wip. A yogurt parfait would be the perfect lower calorie option if you don’t want a whole pan of this delight sitting around. Sugar free vanilla Greek yogurt + a squirt of Reddi wip + these peanut butter crumbs would be amazing!
Allergy notes: use gluten free oat fiber for a gluten free dessert.
- Prep Time: 40 mins
- Chill Time: 4 hours
- Cook Time: 16 mins
- Category: Dessert
- Method: Bake, Cook
- Cuisine: gluten free, low carb, sugar free, THM S
